

|
Some promotional ConnectCore Mini development kits include a free Google Coral mini PCIe accelerator card. However, you can use Google Coral with any ConnectCore development board that has a PCI interface. Contact your local Digi representative or Digi Technical Support for more information on adding Google Coral functionality to your ConnectCore project. To purchase a Google Coral mini PCIe accelerator separately, go to https://www.coral.ai/products/pcie-accelerator/. |
Follow these steps to get started using Google Coral with your ConnectCore 8M Mini Development Kit.
1. Plug in the card
-
Make sure the ConnectCore 8M Mini Development Kit is powered down.
-
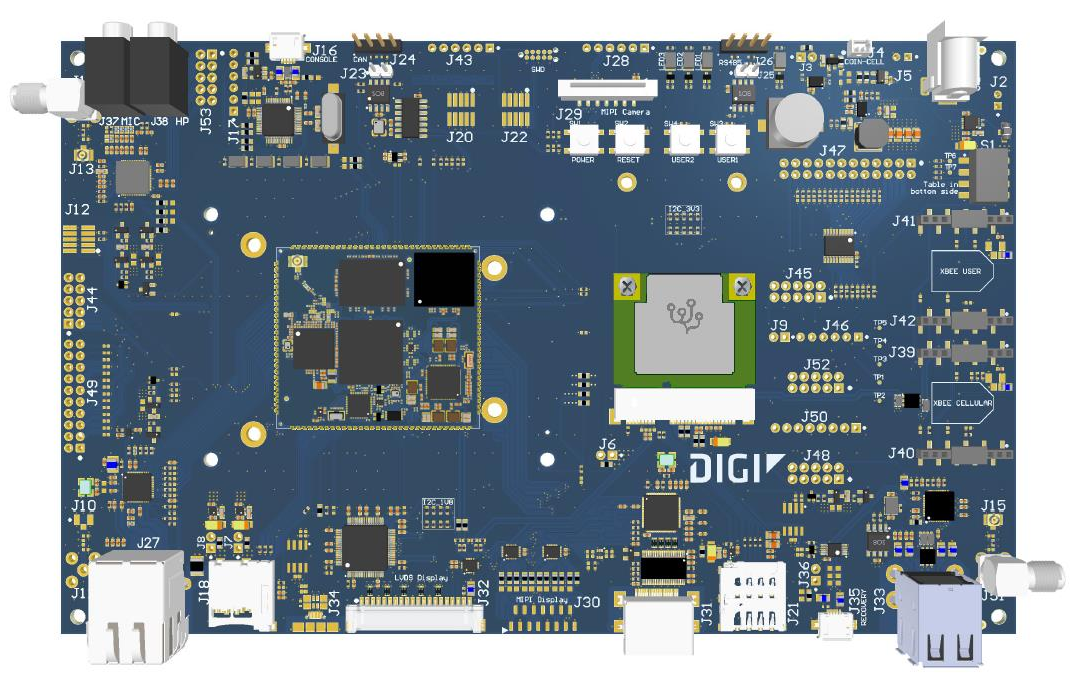
Plug the Google Coral card into the PCIe mini card connector of the ConnectCore 8M Mini Development Kit and mount it using the provided screws and nuts.
2. Install the pre-built firmware images
Digi has built specific firmware images to help you test Google Coral with your ConnectCore 8M Mini. Fill out the following form to provide some information so we can better understand your project needs. The firmware will be available for download directly after submitting the form.
| If the form doesn’t load after a few seconds, you may need to refresh the page. Contact Digi Support Services if you are not able to access the firmware images. |
For instructions on how to install the downloaded images, see Program the firmware.
3. Verify detection of the Google Coral
-
Power up the ConnectCore 8M Mini Development Kit.
-
At the Linux prompt, check for the presence of a new device
/dev/apex_0:# ls /dev/apex_0 /dev/apex_0
| If you don’t see the device, power off the ConnectCore 8M Mini Development Kit and verify the connection of the Google Coral card and that you correctly programmed the firmware images with support for Google Coral. |